
A Guide to growing giant Redwood Trees (Sequoiadendron giganteum)
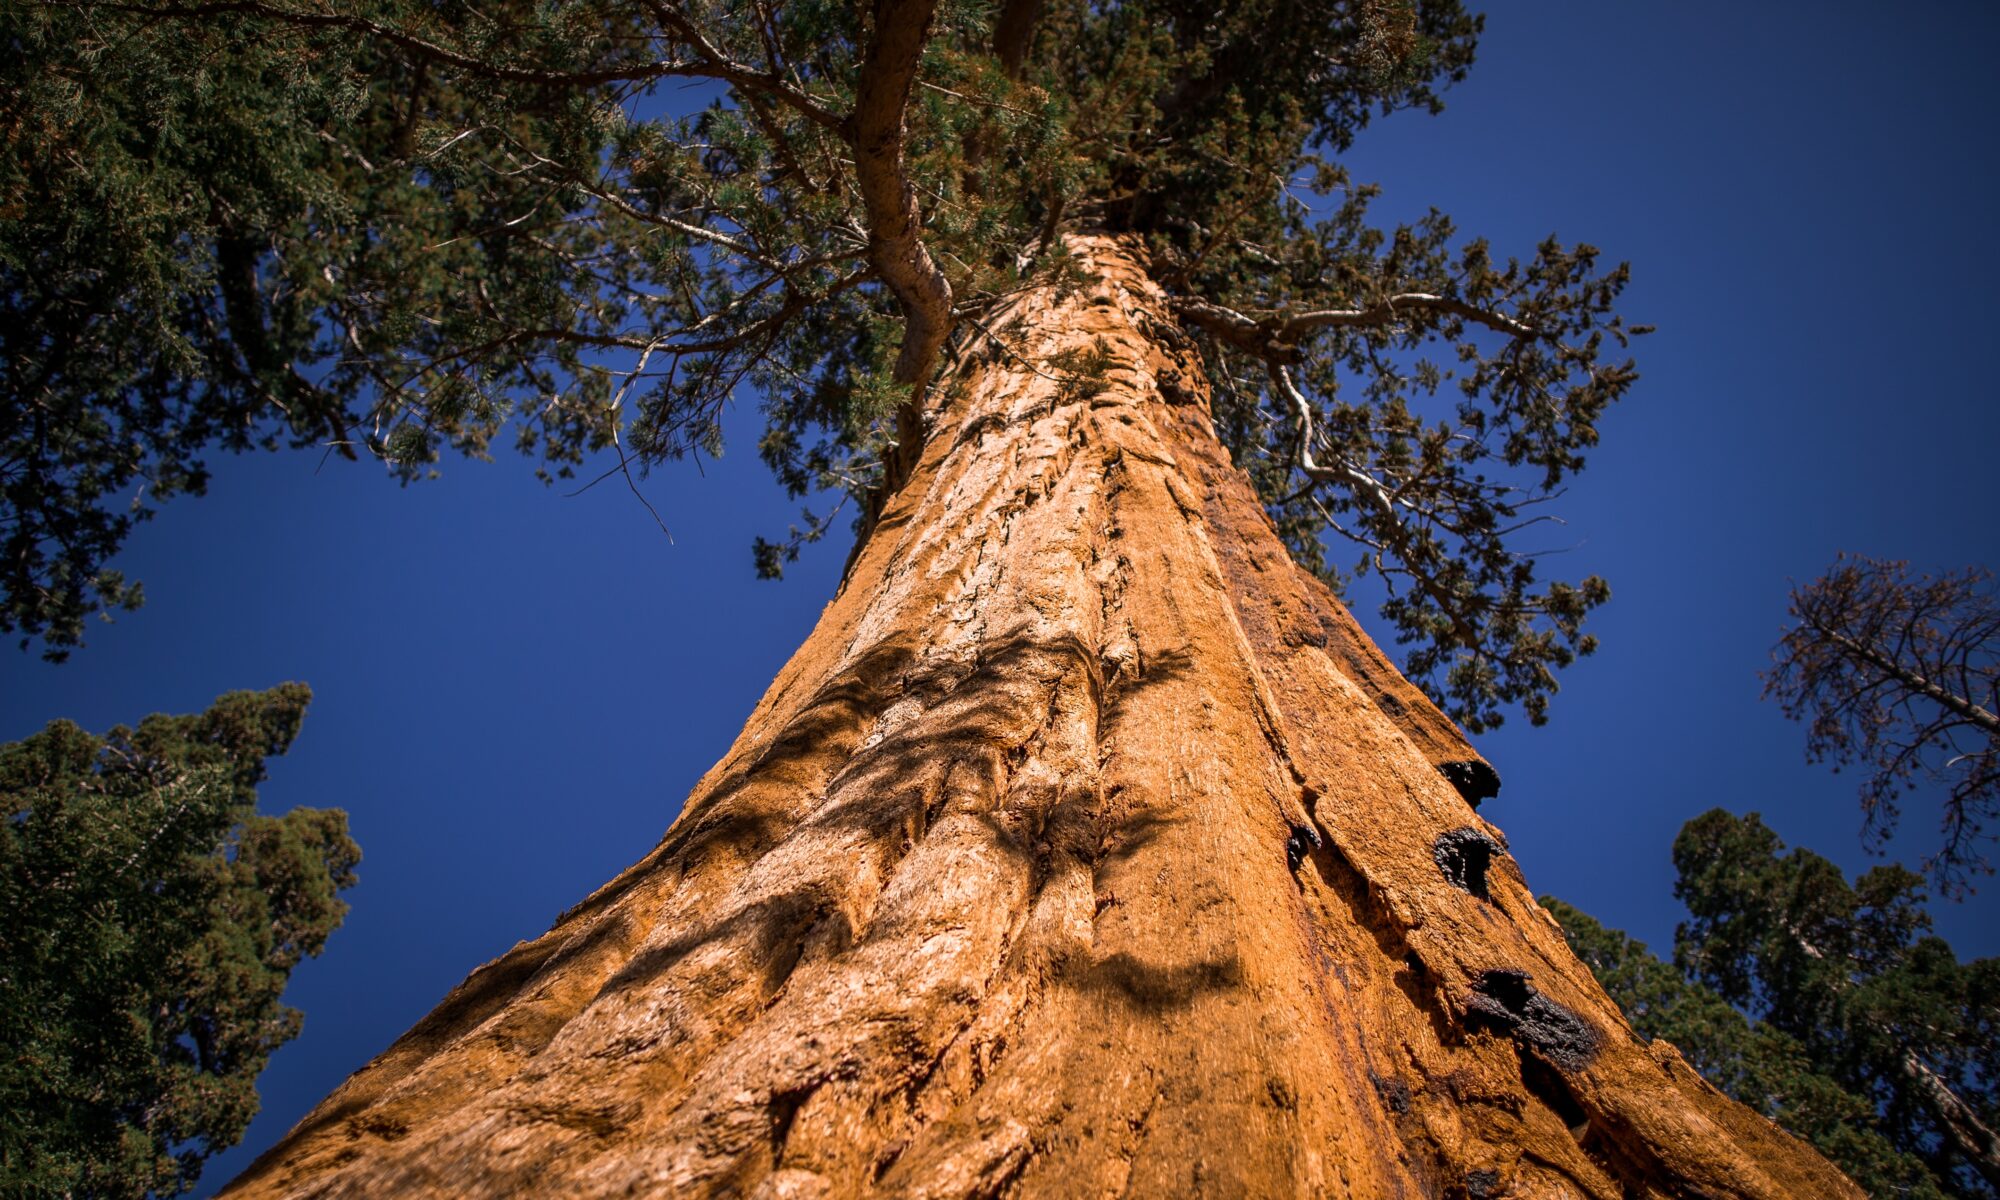
Giant Redwoods are the tallest tree in the world, the largest of which are over 100 Meters tall. Giant Redwoods are native to the USA, but can be found and grown in the UK (albeit, with some help.)
Why?
These giants can live for 100s if not 1000s of years and grow to become the largest living thing on the planet. Their Colossal size allows them to store huge quantities of carbon from the atmosphere and lock it away for many, many years. Giant Redwoods also produce a large amount of Oxygen.
We also find them very majestic and beautiful trees, their sheer size alone leaves you in awe and wonder.
A Brief overview of this guide
This guide aims to explain how to successfully take a small seed and grow it into a giant. We will show methods to germinate the seeds as well as caring for the sapling. Read on for more information.
- Obtaining Seeds
For the purposes of this guide, we obtained our seeds from a reputable online supplier. You could visit a specialist, perhaps a garden centre or find seed suppliers online as we did. If you are lucky enough to live near a Giant Redwood tree, you could even harvest your own seeds.
- Stratification
Like many trees, Giant Redwood seeds need a period of coldness to break their dormancy. In nature, Winter would kick off this process.
But, if you don’t wish to wait a whole year, you can easily imitate Winter by placing seeds in the fridge for around 1 month.
To prepare for the fridge, our seeds were first placed into a Zip-lock bag, the seeds were scattered on top of a moist paper-towel and then spray with a fine mist of water. Vermiculite can be used in place of the Paper Towel, which may yield better results. - Check on progress
Check in on the seeds every once per week, ensuring there is still moisture in the zip-lock bag and that no mould has formed. It’s also important to ensure that there is not too much moisture build-up, the seeds and paper towel should be damp but not sitting in a pool of water.
- Germination
After approximately 1 month, some seeds may have already begun to sprouted. These early risers should be carefully removed and potted in a suitably sized pot (we’d recommend one that is at least 1 foot deep.) For the remainder of the seeds, these can be placed in a pot, lightly covered with compost and placed in a sunny, warm spot.
It is important to keep the seeds and seedlings protected from Frost – A sunny indoor window or a greenhouse works well here. After a further week or two, the remainder of the seeds should begin sprouting. - Re-Potting
As the seedlings begin to sprout and grow, it may be necessary to split and re-pot to ensure each seedling has enough growing room.
- Keeping them alive
Keep seedlings watered well and slowly begin to acclimate them to outdoor temperatures, being careful not to expose them to freezing / frost, particularly whilst young.
After a few years, they should have grown large enough to plant in the ground. (planting area should be chosen carefully, due to the enormity of adult trees.